Set up Sandbox Studio in 3 steps
Deploy the app in your AWS environment, subscribe via AWS Marketplace, then activate with a product key. You’ll be ready to create and manage AWS sandbox accounts in minutes.
Step 1: Install Sandbox Studio
Deploy Sandbox Studio into your AWS environment using one of the following options:
Installation Wizard
Use the automated script from our docs. It checks your environment, applies prerequisites, and guides you through deployment step‑by‑step.
Manual deployment
Follow the CloudFormation stack instructions in the Installation Guide for full control over each resource and configuration.
Who should install?
IT admins, cloud architects, or DevOps engineers.
Check prerequisites, supported regions, and security notes in the
Tip: Review prerequisites and IAM permissions before running the wizard to ensure a smooth deployment.
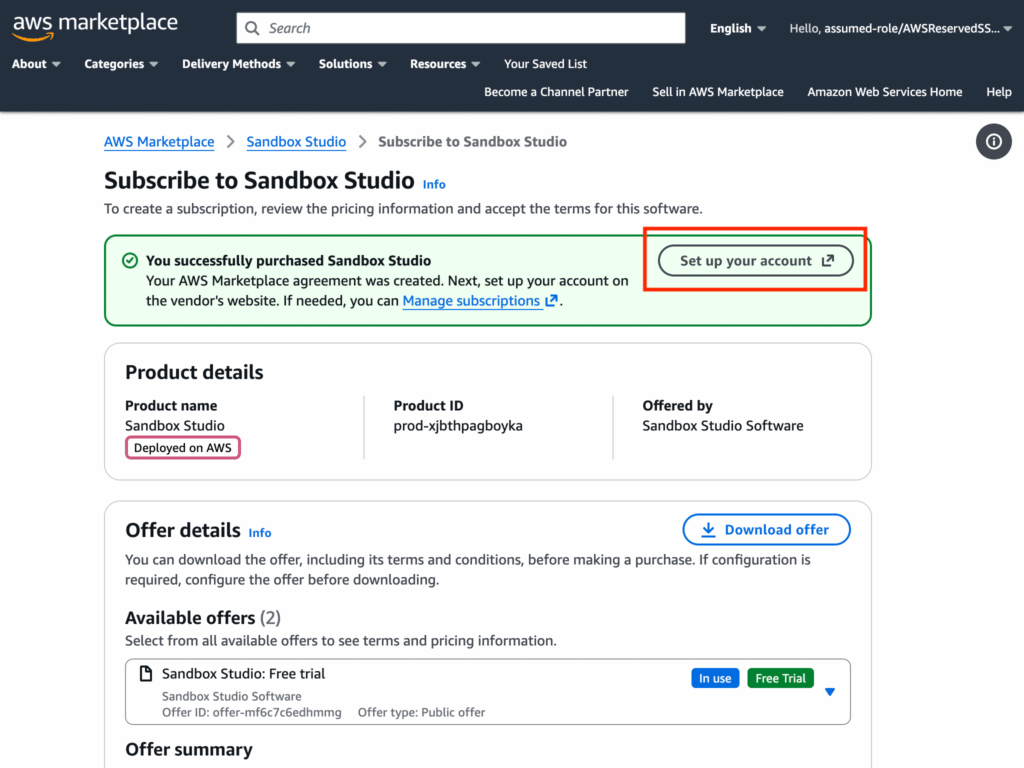
Step 2: Subscribe via AWS Marketplace
Once installed, subscribe to Sandbox Studio via AWS Marketplace and start with a free trial.
To start your free trial:
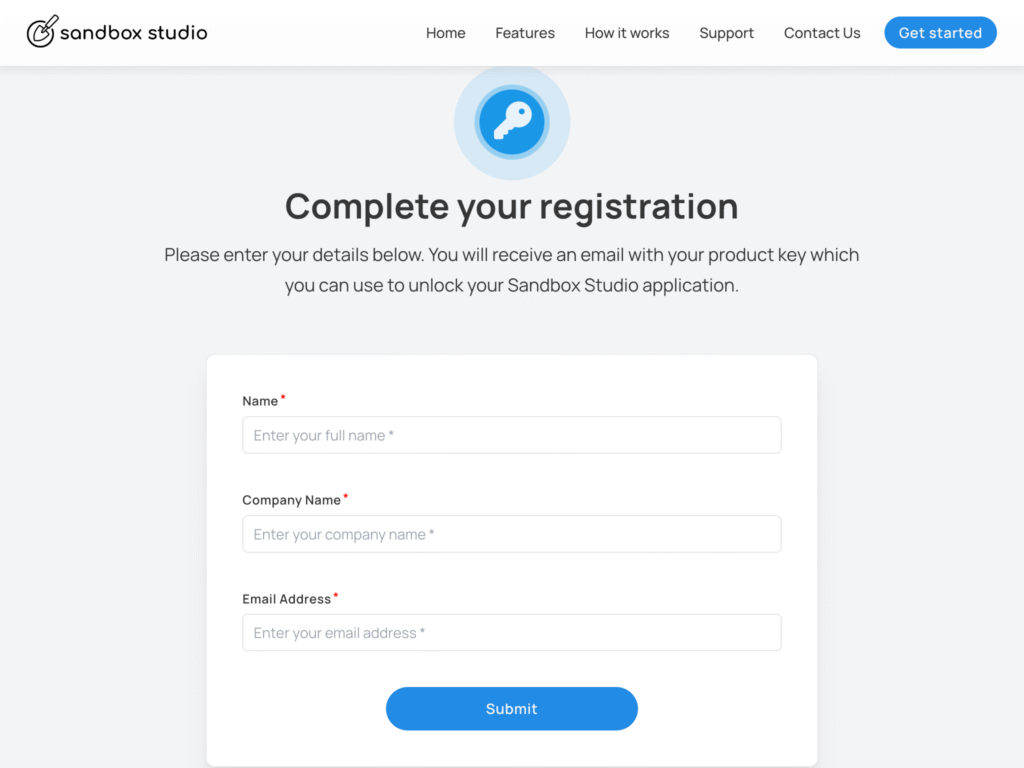
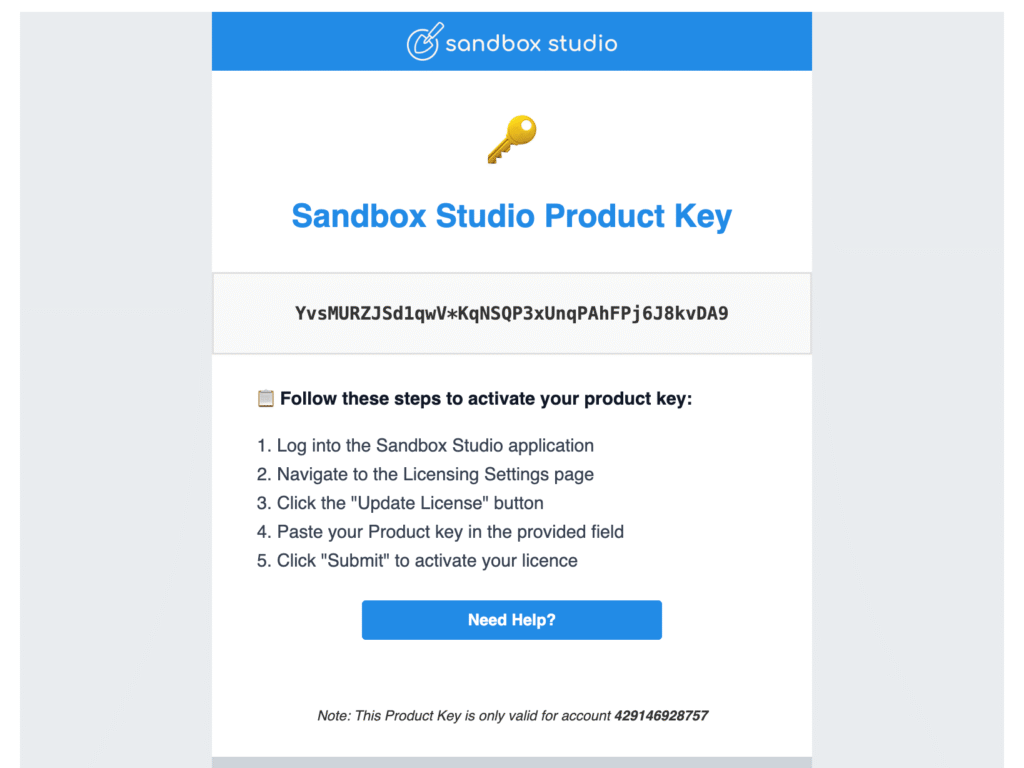
Step 3: Activate Your Subscription
Once active, you can add up to 3 free sandbox accounts during the trial.


